🎯 Getting Started with "Sticky Notes App"
Stay organized and boost your productivity
Table of Contents:
Working with text 📝
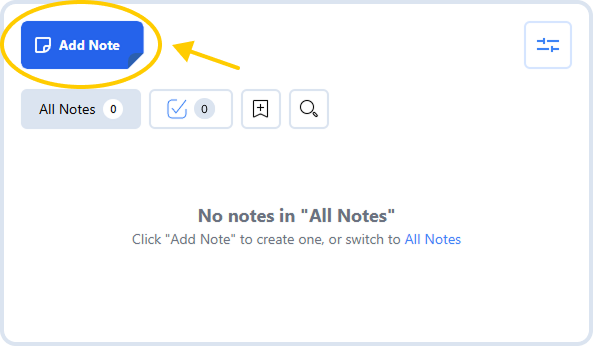
To create a new note, click the "Add Note" button:
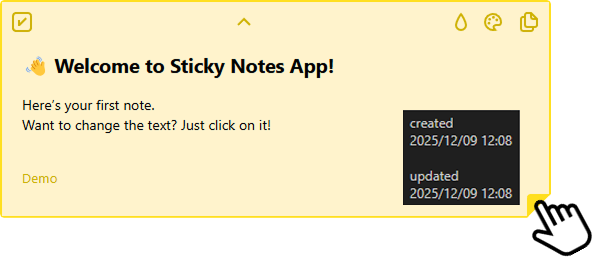
Now click on a note to add some text!
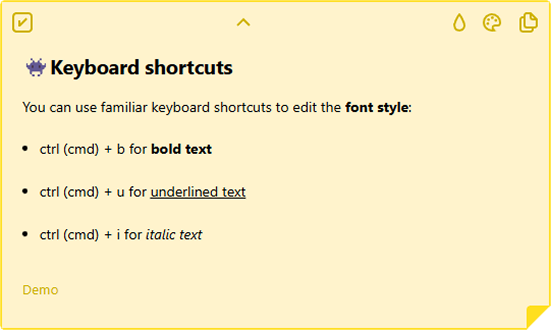
Speed up your work with common keyboard shortcuts:
Speed up your work with common keyboard shortcuts:
or use the Notion-style "/"-commands to:
1️⃣ create a checklist:
1️⃣ create a checklist:
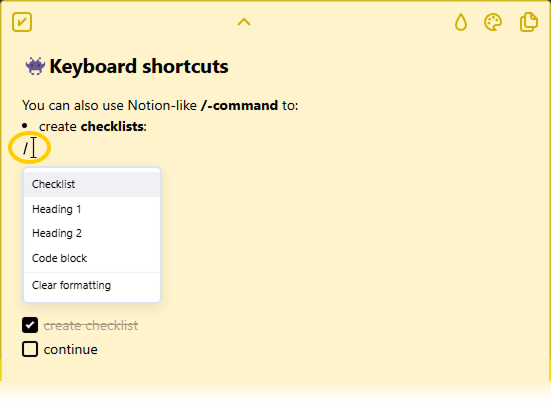
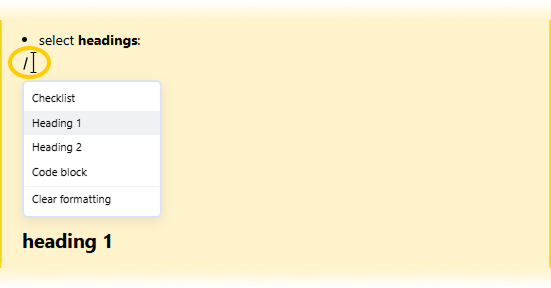
2️⃣ change the plain text to a heading:
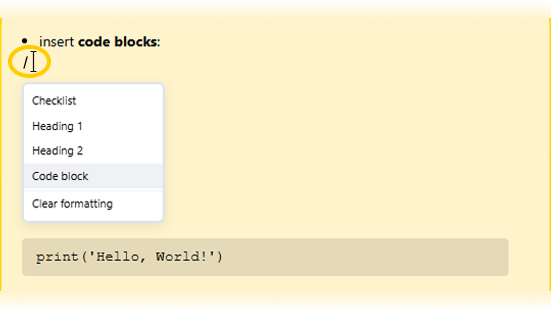
3️⃣ insert code block:
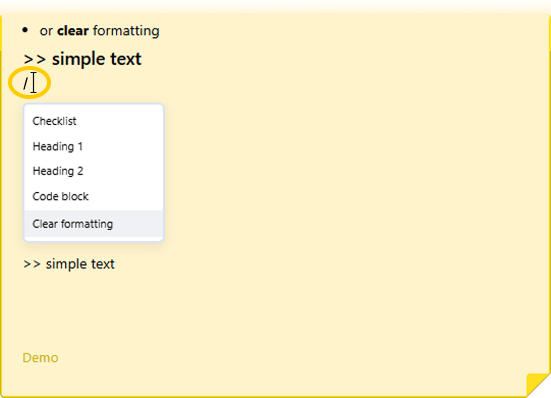
4️⃣ clear formatting:
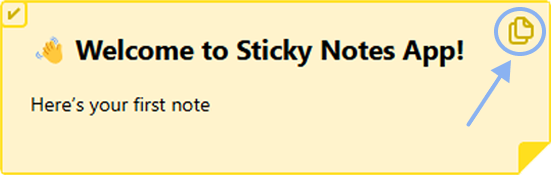
To copy the text of a note, click on the "sheets of paper" icon in the top right corner:
To see when a note was created and updated, simply hover your mouse over the curled corner:
Completing tasks ✅
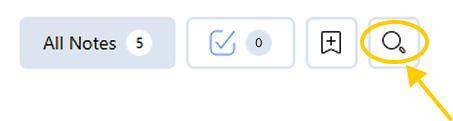
To mark a task as competed, click the "checkbox" icon in the top left corner:
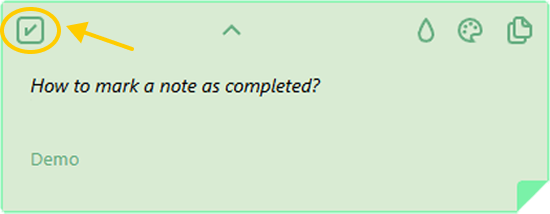
The text on the note will be crossed out and the note will turn grey:

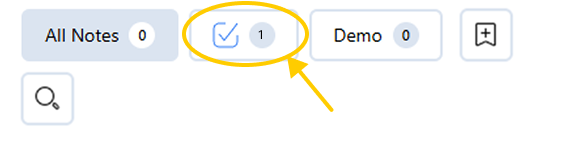
All completed tasks will be in the Archive.
To access it, simply click the "checkmark" icon at the top of the sidebar:
To access it, simply click the "checkmark" icon at the top of the sidebar:
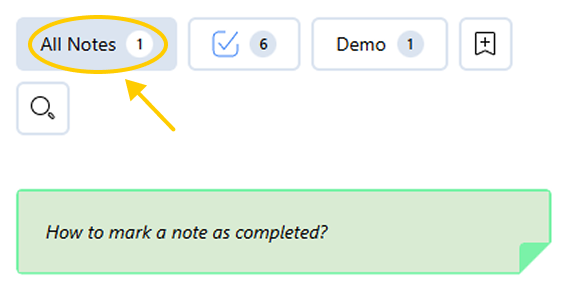
If you want to restore a completed note from the archive, click the "return arrow" icon in the top left corner of the note:

The restored note will reappear in the All Notes section:
(all tags added to the note will be saved)
If you want to delete a note, click the "cross" icon in the top right corner of the note:
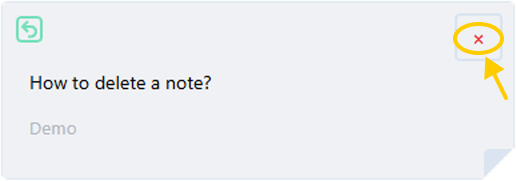
(deletion only works in the Archive)
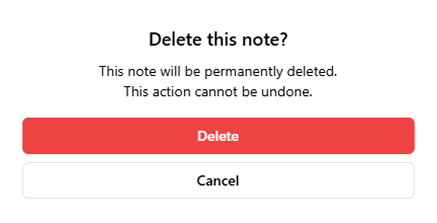
A dialog box will appear warning you that the note will be permanently deleted:
Using tags 🔰
Tags help you organize your notes.
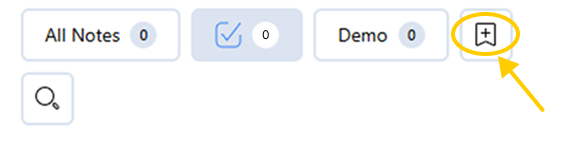
To create a new tag, click the "flag" icon at the top of the sidebar:
To create a new tag, click the "flag" icon at the top of the sidebar:
Now enter a name for the new label in the field below:
You can add tags in 3 different ways.
1️⃣ by dragging the tag button onto the note:
1️⃣ by dragging the tag button onto the note:
(the tag appeared at the bottom of the note)
2️⃣ by dragging a note onto the tag button:
(all other tags will be removed)
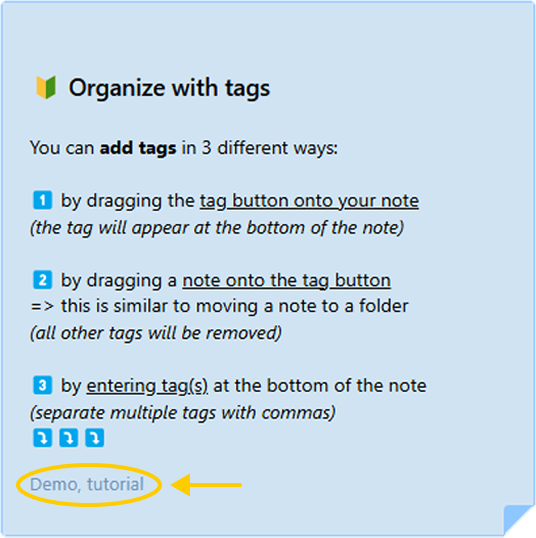
3️⃣ by entering tag(s) at the bottom of the note (separate multiple tags with commas):
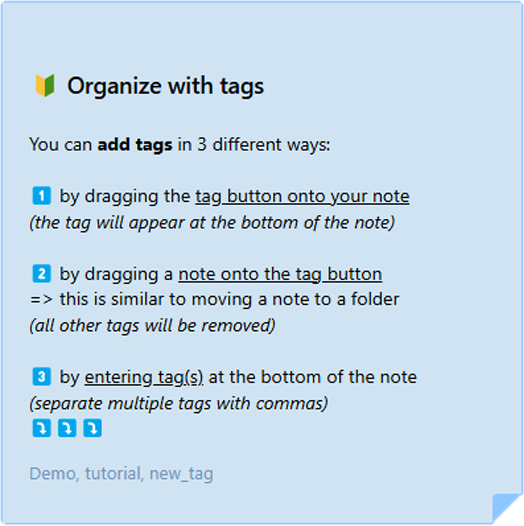
(multiple tags separated by commas)
To reorder tags, simply move them as desired:
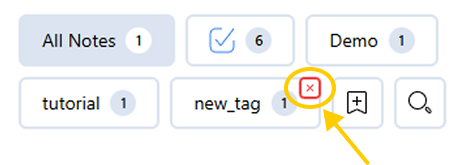
To remove a tag, click the "cross" icon in the top right corner of the tag:
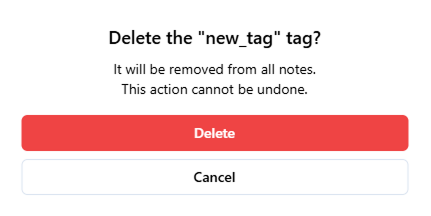
A dialog box will appear warning you that the tag will be removed from all notes to which it was assigned:
After deleting the "new_tag", two more tags remain in the note:
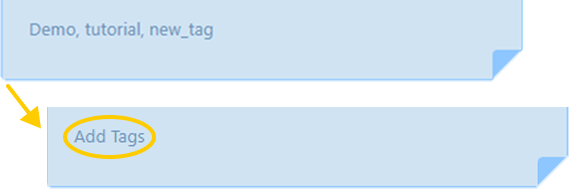
Deleting all tags doesn't delete the note — the tag field will simply become empty:
Searching 🔎
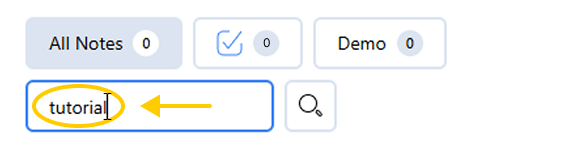
To search, use the input field at the top of the sidebar:
The word you enter will be used to search in:
☑️ regular text
☑️ checklists
☑️ headings
☑️ code blocks
☑️ regular text
☑️ checklists
☑️ headings
☑️ code blocks
(search result)
Color coding 🚦
To set the color of a note, click the "palette" icon in the top right corner of the note:

The default note color can be set in the "Settings" section  :
:
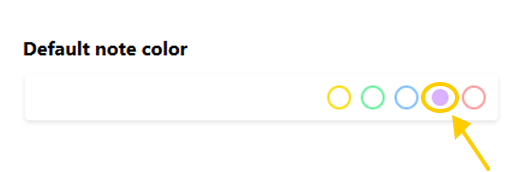
(the chosen color is shown as a filled circle)
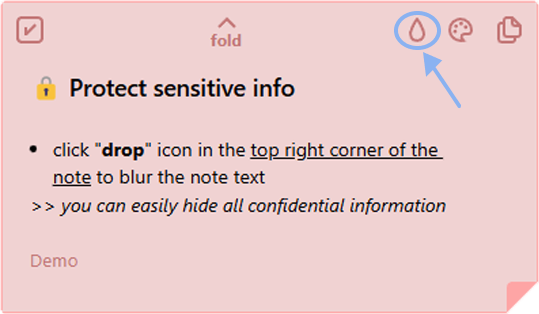
Hiding text 🔒
With the blur feature, you can easily hide all sensitive information:
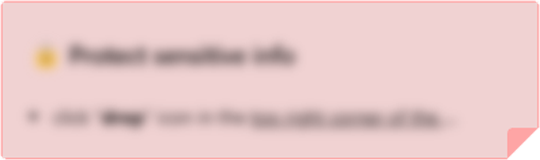
To blur the text, click the "drop" icon in the top right corner of the note:
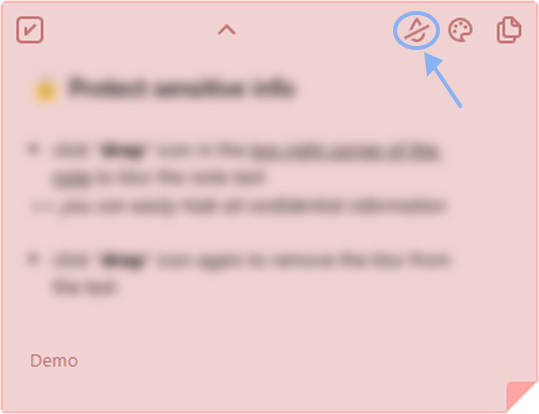
To remove the blur effect, click the "strikethrough drop" icon in the top right corner of the note:
Using the context menu ⏬
You can launch the extension via the context menu:

(called by right-clicking)
You can select any text and use the context menu to create a new note based on it:
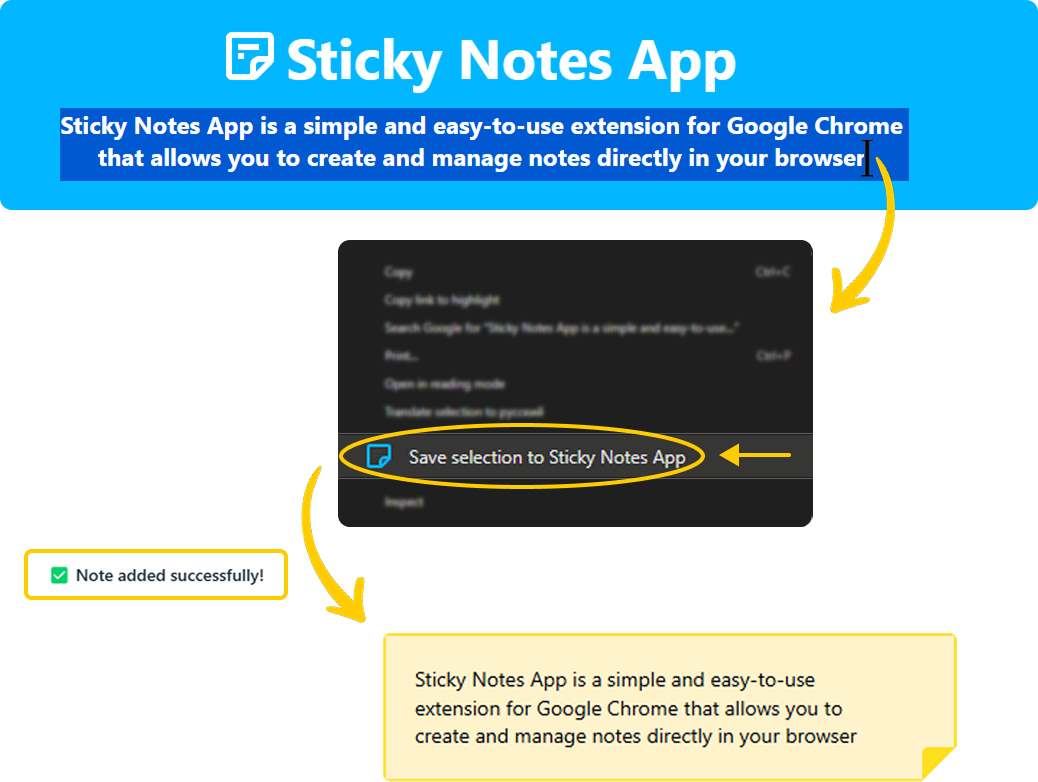
OR

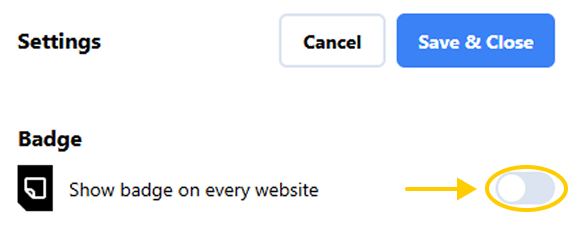
Settings ⚙️
For quick access to our extension, we use a small "badge":
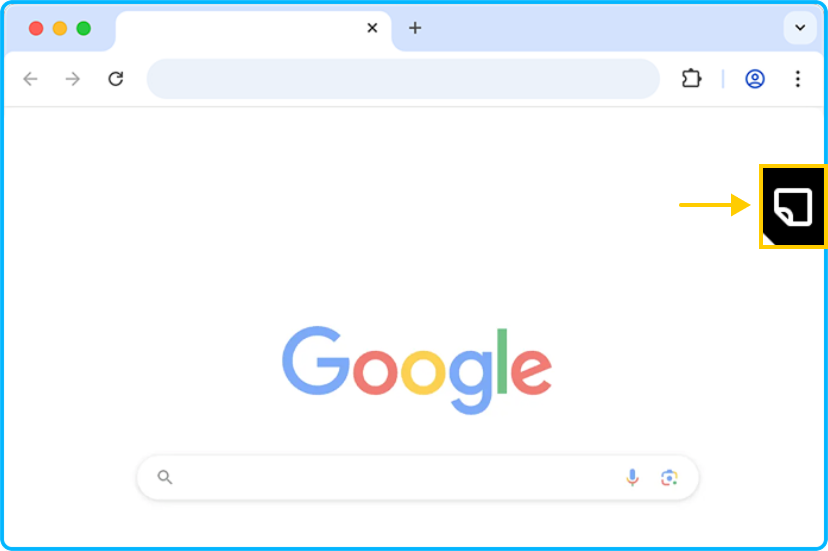
You can disable this feature in the "Settings" section
Also in the "Settings" section you can:
1️⃣ change the font size:
1️⃣ change the font size:
2️⃣ set the default note color:
(the chosen color is shown as a filled circle)
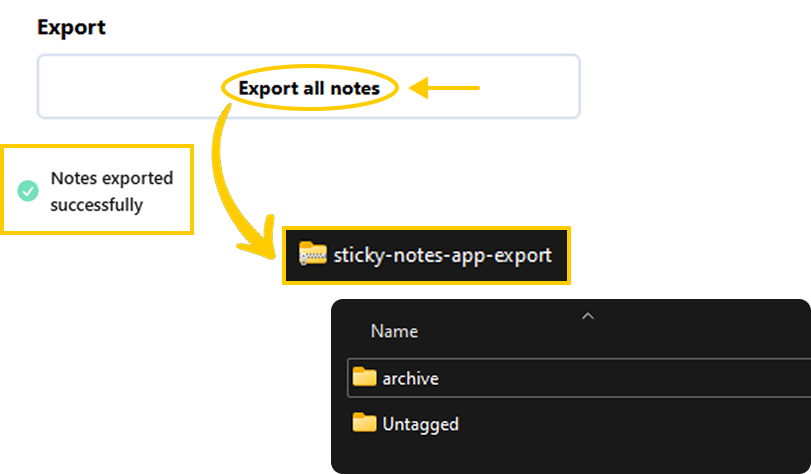
3️⃣ export all your notes:
4️⃣ rate us if you liked us 🎉